
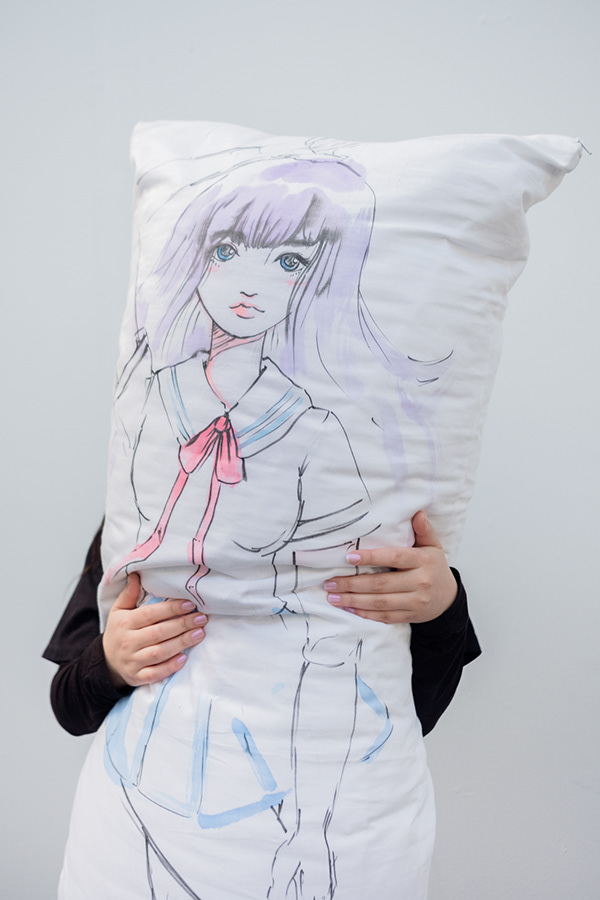
A dakimakura, commonly known as a “hug pillow” or “body pillow,” is a popular item in Japanese culture, often featuring beloved anime characters. Making your dakimakura can be a fulfilling project, allowing for customization and a personal touch.
This comprehensive guide will walk you through the entire process, from concept to completion.
Materials and Tools Needed
- Fabric: Choose a high-quality fabric that is soft and durable. Two popular choices are two-way tricot and peach skin. Two-way tricot is stretchy and smooth, making it ideal for a snug fit, while peach skin is more affordable and still offers a pleasant texture.
- Sewing Machine: Essential for sewing the fabric together. Ensure it can handle stretch fabrics if you choose a two-way tricot.
- Thread: Use a color that matches your fabric. A polyester thread is recommended for its strength and elasticity.
- Zipper: A hidden zipper is preferable for a clean finish. The length will depend on your pillow size.
- Scissors or Rotary Cutter: For cutting the fabric.
- Measuring Tape: To ensure accurate measurements.
- Pins: For holding the fabric in place while sewing.
- Needle: For hand-sewing and finishing touches.
- Iron and Ironing Board: To press the fabric and seams.
- Pillow Insert: A standard dakimakura insert is 150cm x 50cm, but you can customize the size.
Step-by-Step Guide
- Design and Printing
First, decide on the design for your dakimakura. This could be an anime character, a custom illustration, or any image you love. If you’re not an artist, consider commissioning someone to create the artwork. Ensure the image resolution is high (300 dpi) to avoid pixelation when printed.
Once your design is ready, find a professional printing service that specializes in custom fabric printing. Provide them with your design and specify the fabric type (two-way tricot or peach skin). The printing service will deliver the printed fabric to you.
- Cutting the Fabric
After receiving your printed fabric, lay it flat on your cutting surface. Measure and mark the dimensions of your pillowcase, adding an extra 1.5 cm (0.6 inches) for seam allowance on all sides. Cut out two identical pieces using your scissors or rotary cutter.
- Sewing the Zipper
Place one piece of fabric right side up. Position the zipper along one of the short edges, aligning the zipper teeth with the edge of the fabric. Pin the zipper in place.
Using your sewing machine’s zipper foot, sew along the zipper tape, securing it to the fabric. Repeat this process with the other piece of fabric. Ensure the zipper is properly aligned so it zips smoothly.
-
Sewing the Pillowcase
With the zipper closed, place the two fabric pieces right sides together. Pin the remaining three sides, making sure the edges are aligned.
Using a straight stitch, sew around the three pinned sides with a 1.5 cm (0.6 inches) seam allowance. For added durability, sew a second line of stitches parallel to the first. If you’re using a stretchy fabric like a two-way tricot, use a zigzag stitch to allow for some give.
- Finishing the Seams
To prevent fraying, finish the seams with a serger or a zigzag stitch on your sewing machine. Trim any excess thread.
- Pressing the Seams
Turn the pillowcase right side out. Use an iron to press the seams flat, giving your pillowcase a polished look.
- Inserting the Pillow
Unzip the pillowcase and insert the pillow insert, ensuring it fits snugly. Adjust the fabric so it lays smoothly over the insert, and zip it closed.
- Final Touches
Inspect your dakimakura for any loose threads or imperfections. Make any necessary adjustments or hand-sew any small gaps. Your dakimakura is now complete.
Tips and Tricks
- Fabric Choice: Two-way tricot is highly recommended for its softness and elasticity. It provides a smooth surface for high-resolution prints and offers a snug fit for the pillow insert.
- Care Instructions: To keep your dakimakura looking its best, wash it on a gentle cycle with cold water and mild detergent. Air dry to prevent shrinking or damage to the print.
- Customization: Consider adding embellishments like embroidery or appliqué for a unique touch. You can also experiment with different shapes and sizes for your pillowcase.
Conclusion
Creating a dakimakura is a rewarding project that combines artistry with craftsmanship. Whether you’re making it for yourself or as a gift, the effort and personalization involved make it a cherished item. By following this guide, you can create a high-quality, custom dakimakura that reflects your style and interests.